




Are You Missing Trail Details? Lighting Upgrades for Your Next Night Drive
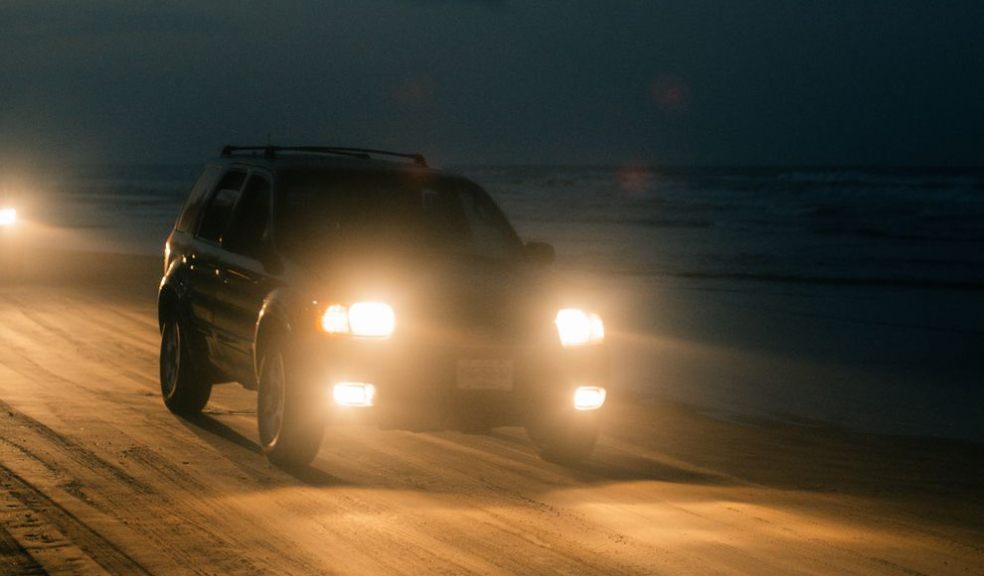
A trail can feel completely different after sunset. Familiar turns become harder to judge, uneven surfaces require more attention, and obstacles near the edges of your headlights can disappear into shadow. Before adding more lighting, it helps to identify exactly where your current setup leaves you wanting a clearer view.
A light bar may be one part of that upgrade, but choosing equipment involves more than finding the brightest-looking option. Beam pattern, mounting position, and adjustment all influence where the light goes and how useful it feels behind the wheel.
The goal is a balanced view that helps you recognize terrain without creating distracting glare. By evaluating coverage gaps and matching your equipment to the conditions, you can build a lighting setup that better supports your next off-road night drive.
Spot the Areas Your Headlights Leave in Shadow
Start by observing what your existing headlights illuminate. On a suitable off-road area, park safely and examine the view ahead from the driver’s seat. Notice where useful coverage ends and where shadows make the terrain difficult to read.
Different gaps call for different solutions. You might want better visibility farther along a straight section, more coverage near the trail edges, or a clearer view beside the front corners during slow turns. Identifying the problem helps narrow your equipment choices.
Beam pattern matters because it determines how light is distributed. A pattern intended for distance serves a different purpose from one designed to spread illumination across a wider area. Review the manufacturer’s descriptions and beam illustrations for the specific product.
Avoid choosing solely by a brightness figure. A powerful light aimed at the wrong area may leave your original visibility problem unresolved while adding distracting brightness elsewhere.
Also consider how the new equipment will work with your headlights. Complementary coverage can be more useful than concentrating every light on the same patch of ground.
After installation, evaluate the complete setup from the driving position. Look for abrupt transitions, distracting reflections, and areas that remain difficult to see. Make adjustments around those observations.
Take a Closer Look at Ditch Light Placement
Ditch lights are commonly associated with auxiliary pods mounted near the rear corners of the hood or lower windshield area. Their usefulness depends on the combination of mounting location, beam pattern, and aim.
Before selecting brackets, decide what you want the lights to illuminate. You may be looking for coverage near trail edges, a clearer view through tight turns, or additional light beside the vehicle during slow maneuvering.
When comparing pod lights for truck applications, confirm that the lights, brackets, and wiring equipment suit your vehicle. Check clearance around the hood, windshield wipers, and any nearby accessories.
Placement deserves attention because nearby surfaces can reflect light toward the driver. An installation that looks tidy from outside may create hood reflections or other distractions once switched on.
Test the lights from your normal seating position. Adjust them gradually and check whether they illuminate the intended area without putting excessive light onto the vehicle itself.
Consider the installation as a complete system. Secure mounting hardware, properly routed wiring, and accessible controls all contribute to a usable setup. Follow the supplied instructions and seek qualified installation help if the work exceeds your experience.
Amber or White: Choosing Light for the Conditions
Colour is another part of the buying decision, but it should be considered alongside output, beam pattern, and placement. Amber and white options can produce different visual impressions, and driver preferences may vary.
Begin with the conditions you encounter most often. Clear nights, airborne dust, and changing weather can affect how useful a lighting setup feels. Think about your usual routes rather than choosing a color based only on appearance.
Some drivers prefer amber lighting in certain dusty or hazy conditions. Others prefer the appearance of white illumination for general terrain viewing. Neither preference establishes that one color will always provide better visibility in every situation.
Avoid assuming that a color change alone will solve glare. Excessive foreground brightness, poor aiming, or an unsuitable beam pattern can remain problems regardless of the lens color.
Review the manufacturer’s guidance for the specific product. If you are comparing different lights, remember that differences in optics and output can affect the result alongside color.
Whenever possible, evaluate options under conditions similar to those you normally drive in. Make comparisons while parked safely, and judge the view from the driver’s seat. The useful question is whether you can read the terrain comfortably and consistently.
Cut Glare With Careful Aiming and Adjustment
After choosing your equipment, take time to aim it properly. Even a suitable light can become distracting when its beam lands on the hood, concentrates too heavily immediately ahead, or points somewhere that does not support your driving needs.
Begin with the manufacturer’s mounting and aiming instructions. Use an appropriate testing area and adjust one light at a time so you can understand what each change does.
Check the view with individual lights switched on, then evaluate the full combination. This helps identify which unit creates a reflection or contributes too much brightness to one area.
Pay attention to foreground coverage. A brightly lit patch close to the vehicle does not automatically mean you have a balanced view of the route ahead. Look for useful illumination across the areas you need to observe.
Inspect the setup after rough outings. Check mounting hardware, wiring, and lenses according to the product instructions. Dirt, damage, or a shifted bracket can change how the system performs.
Use auxiliary lighting with consideration for others. Switch it off when it could dazzle approaching drivers or nearby trail users, and check applicable requirements before using it on public roads. Adjust your speed to the visibility available rather than relying on added lighting to compensate.
Conclusion
Improving nighttime trail visibility starts with understanding the areas your headlights do not cover well. A wider beam, carefully positioned pods, or a different combination of lights may help address those gaps. The most useful upgrade directs light where you need it while keeping reflections and distracting brightness under control.
As you compare Baja Designs off-road lighting, look at beam patterns, mounting options, color choices, and installation requirements together. Build around the terrain and conditions you regularly encounter. Then take time to evaluate the result from the driver’s seat, adjusting individual lights until the overall coverage suits your needs.
A balanced setup should help you observe the trail more comfortably and make informed decisions about what lies ahead. Combine appropriate equipment with careful aiming, routine inspections, and a pace suited to conditions. That approach makes lighting a practical part of your preparation for the next night drive.
Collaborative post